Simplified Guide: How to Make Sea Moss Gel at Home
If you’re wondering how to make sea moss gel, this is your straightforward, fluff-free guide. We provide the practical steps needed to create your own batch of this nutritious gel at home. Learn the essentials in choosing, preparing, and storing your sea moss gel for both dietary and topical use.
Key Takeaways
- Sea moss, especially the nutrient-dense Chondrus Crispus, can be soaked, blended, and turned into a gel at home for various uses in food and skincare.
- The homemade sea moss gel’s consistency can be adjusted by water ratio during blending and post-blending, and should be stored in the fridge or freezer to maintain freshness and quality.
- Use sea moss gel in moderation due to its high iodine content, and consult a healthcare professional before adding it to the diet, especially for pregnant women, nursing mothers, and children.
Discovering Sea Moss: The Ocean’s Superfood
Sea moss, also known as Irish Sea Moss, is a type of red algae native to the Atlantic shorelines of Europe and the Caribbean Islands. The superfood status of real sea moss, including Irish moss, can be traced back to the Irish immigrants who introduced it to Jamaica, where its nutrient-packed goodness made it a popular ingredient in healthy drinks. Over time, the use of sea moss, including cleaned sea moss and raw sea moss, spread worldwide, and it has not looked back since.
This ocean superfood is a vegan, gluten-free powerhouse of nutrients like:
- Vitamin B2
- Calcium
- Magnesium
- Zinc
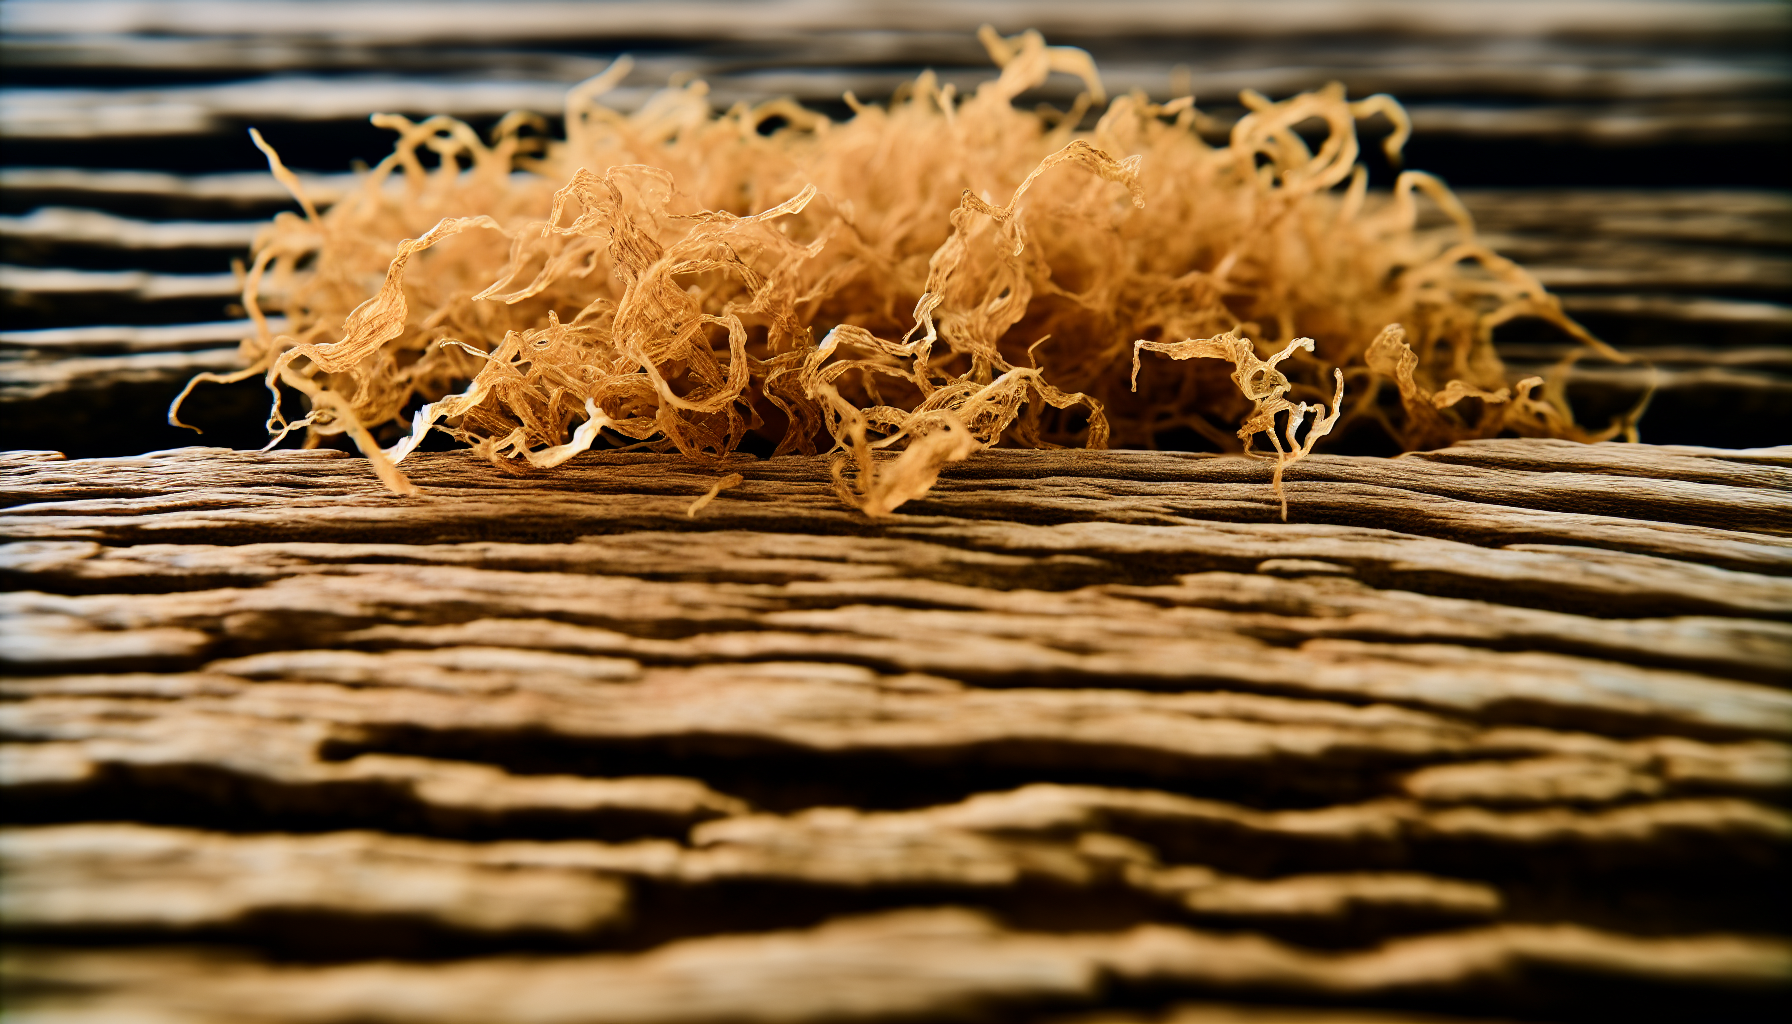
The dried sea moss can be rehydrated and used to make sea moss gel, a popular way to consume sea moss and can be made at home. With its impressive nutritional profile, it’s no wonder that sea moss is capturing the hearts of health enthusiasts everywhere.
Preparing Your Sea Moss
Before you can enjoy the benefits of this superfood, you need to prepare it right. The process of making sea moss gel involves choosing the right type of sea moss, soaking it, and blending it to the right consistency.
This guide aims to navigate you step by step, leading you to a perfectly homemade sea moss gel.
Choosing the Right Type of Sea Moss
Sea moss comes in a variety of colors, including:
- Gold
- Purple
- Green
- Red
- Black
- Yellow
- Pink
Each color holds its unique nutritional profile, but all are packed with essential minerals. For instance, green sea moss is rich in minerals, making it an excellent choice for those looking for a nutrient-packed option.
Take into account the nutritional density while selecting your sea moss. Chondrus Crispus, known for its higher nutritional density, is a popular choice among health enthusiasts. Remember, the goal is to get the most nutrients out of your sea moss gel, so choose wisely!
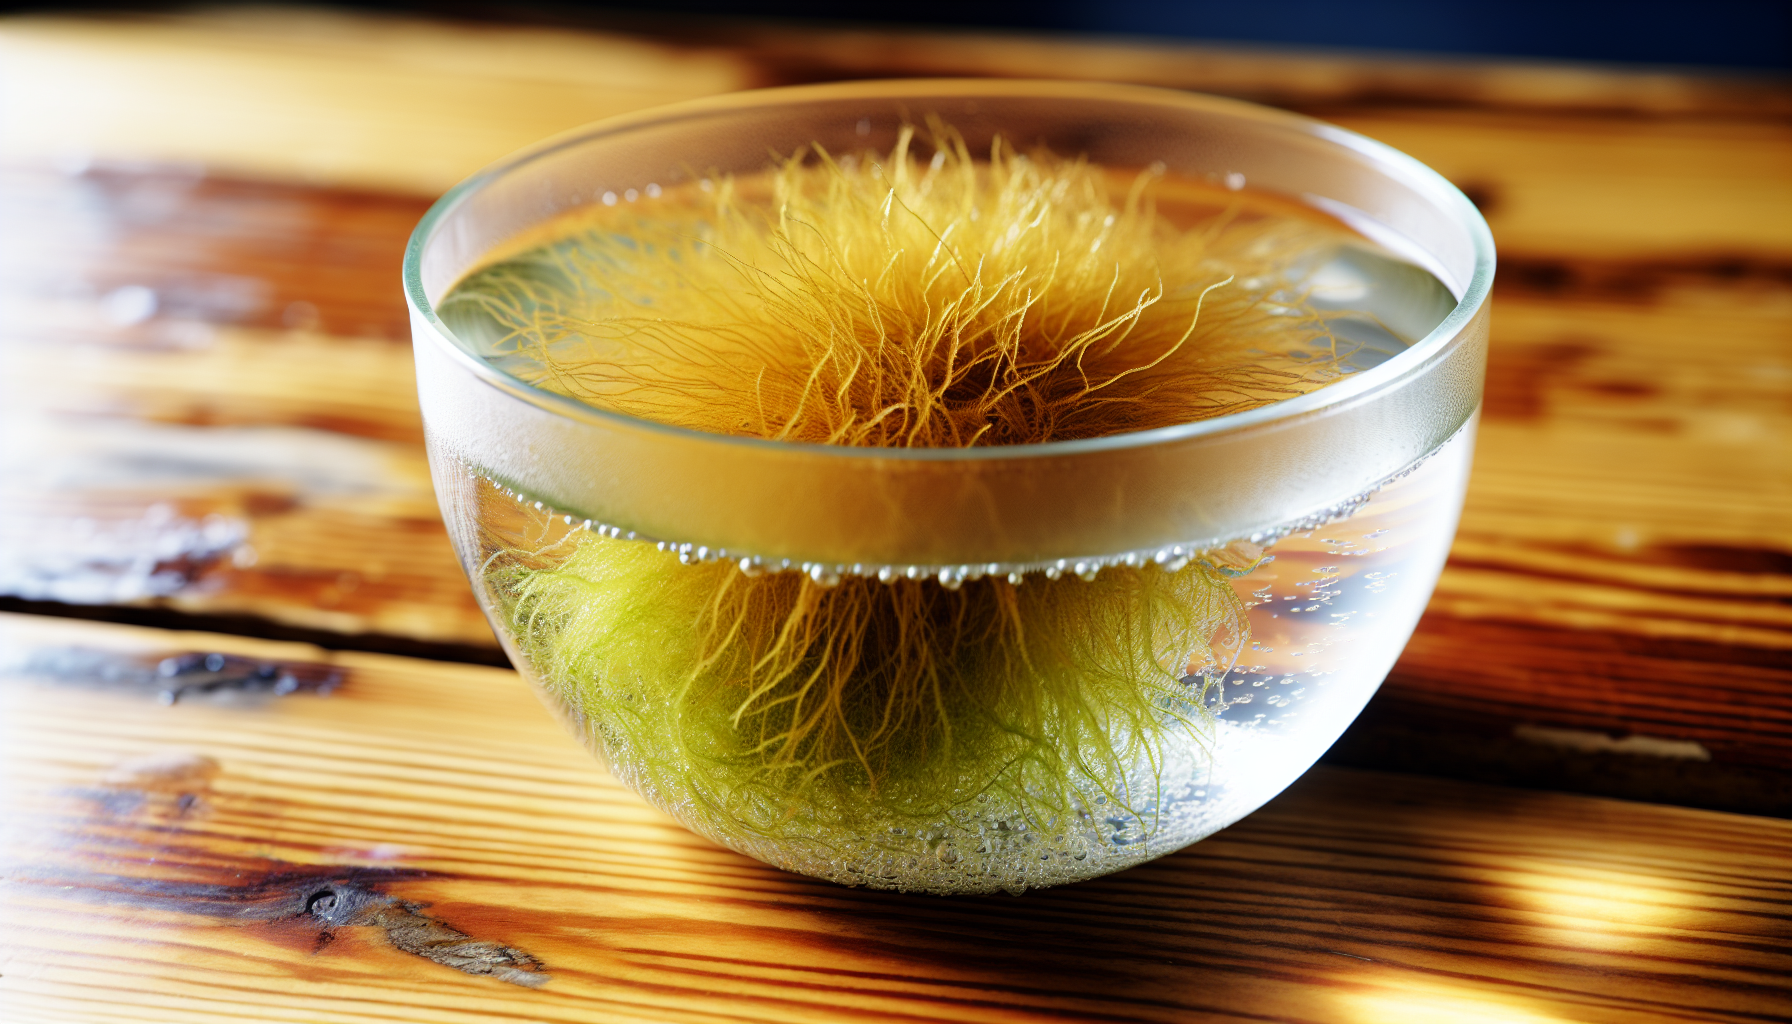
Soaking Sea Moss: The Essential First Step
Once you’ve chosen your sea moss, the next step is to soak it. Soaking is not just about softening the sea moss; it also helps release its amino acids and beneficial compounds, making it easier for our bodies to absorb these nutrients. Bear in mind that the quality of your sea moss significantly depends on the quality of water used for soaking. So, it’s best to use filtered or spring water.
The recommended soaking time for sea moss is between 12 to 24 hours, which can also be referred to as sea moss overnight. This duration ensures that the sea moss softens up and releases all its nutrients. Inadequate soaking of sea moss can impact both its quality and shelf life.
From Algae to Gel: Blending Techniques
After soaking comes the blending. This is where your sea moss starts to take on the gel-like consistency that makes it so versatile. For the best results, use a high-powered blender.
Start with a cup of water and your soaked sea moss. Blend for approximately 1 to 3 minutes until the mixture is smooth. This leads to a creamy and uniformly mixed consistency, similar to that of Irish moss gel. If you want your gel to be smoother or softer, simply add more water and blend again. Once done, pour off any extra water before storing your sea moss gel.
Crafting the Perfect Sea Moss Gel

With your sea moss appropriately prepared, let’s start crafting! The quality of your sea moss gel depends largely on the consistency and how you store it.
Let’s explore each aspect to master the art of creating the perfect sea moss gel.
The Role of Consistency: Water Ratios and Texture
The consistency of your sea moss gel can make a big difference in its usefulness for cooking and skincare. The amount of water you add during blending plays a vital role here. If you want a runnier gel, add more water. For a thicker consistency, use less water.
Keep in mind that you can modify your sea moss gel’s consistency even post-blending. If your gel turns out too thick, add more distilled or spring water and blend it again. If it’s too runny, simply refrigerate it in a sealed container. The gel should thicken up after about 2 hours.
Storing Your Homemade Sea Moss Gel
Storing your sea moss gel correctly is essential to maintain its freshness and quality. Here are some tips:
- Use an airtight container to store your gel.
- Keep the container in the refrigerator.
- The cool temperature slows down the breakdown of the gel, keeping it fresh and nutritious for longer.
Are you aware that freezing your sea moss gel is an option for long-term storage? Freezing not only extends the shelf life of the gel but also preserves its nutritional value, texture, and quality. So, you can make a big batch and freeze it in portions, ensuring you always have a fresh supply at hand.
Innovative Uses for Sea Moss Gel
With your homemade sea moss gel ready, let’s delve into the numerous ways to utilize it! From culinary creations to beauty boosts, the versatility of sea moss gel is truly remarkable.
Culinary Creations: Sea Moss Gel in Food
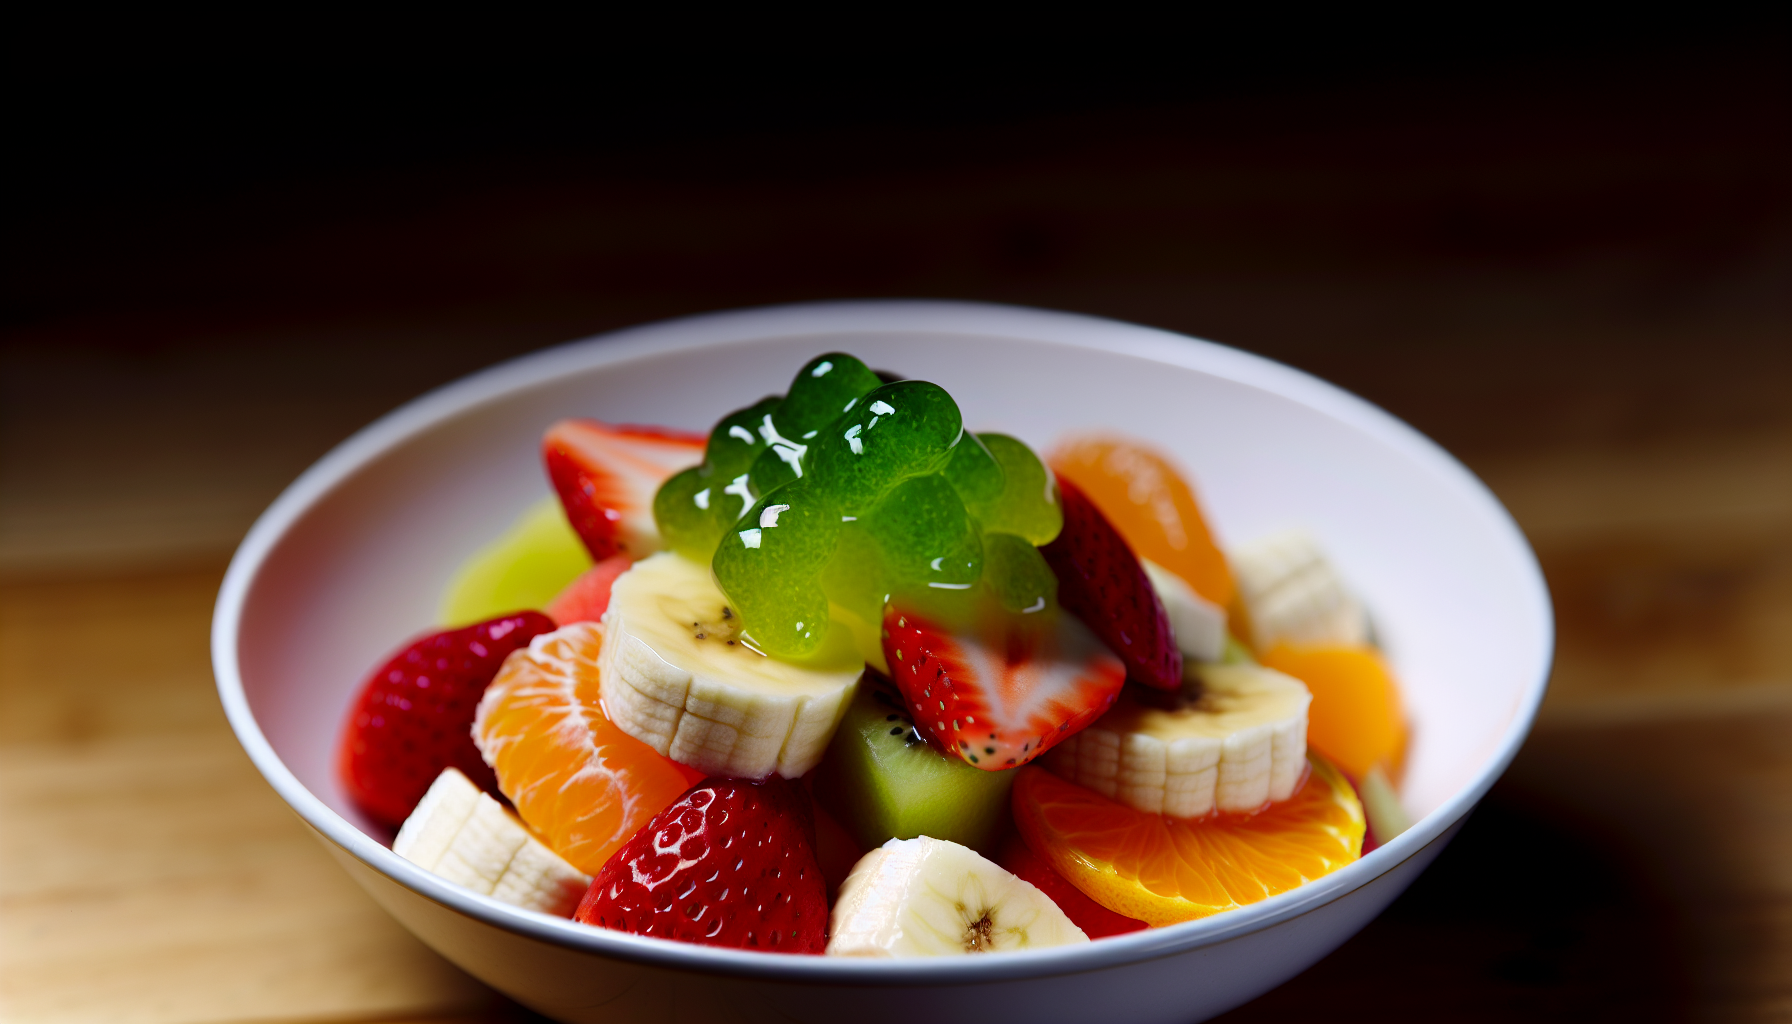
In the kitchen, sea moss gel can be a game-changer! Its neutral taste and unique texture make it a fantastic addition to a variety of dishes. Here are some ways you can use sea moss gel:
- Thickening soups, stews, and sauces
- Blending into smoothies
- Baking into bread and pastries
- Making gel desserts
There’s no limit to what you can do with sea moss gel!
Sea moss gel can also be incorporated into dessert recipes, adding a healthy twist to your sweets. From Sea Moss Vanilla Pudding and Sea Moss Mango Pudding to Sea Moss Vegan Chocolate Cake, the possibilities are endless. Even better, sea moss gel is vegan-friendly, making it perfect for a wide range of diets.
Beauty Boosts: Topical Applications of Sea Moss Gel
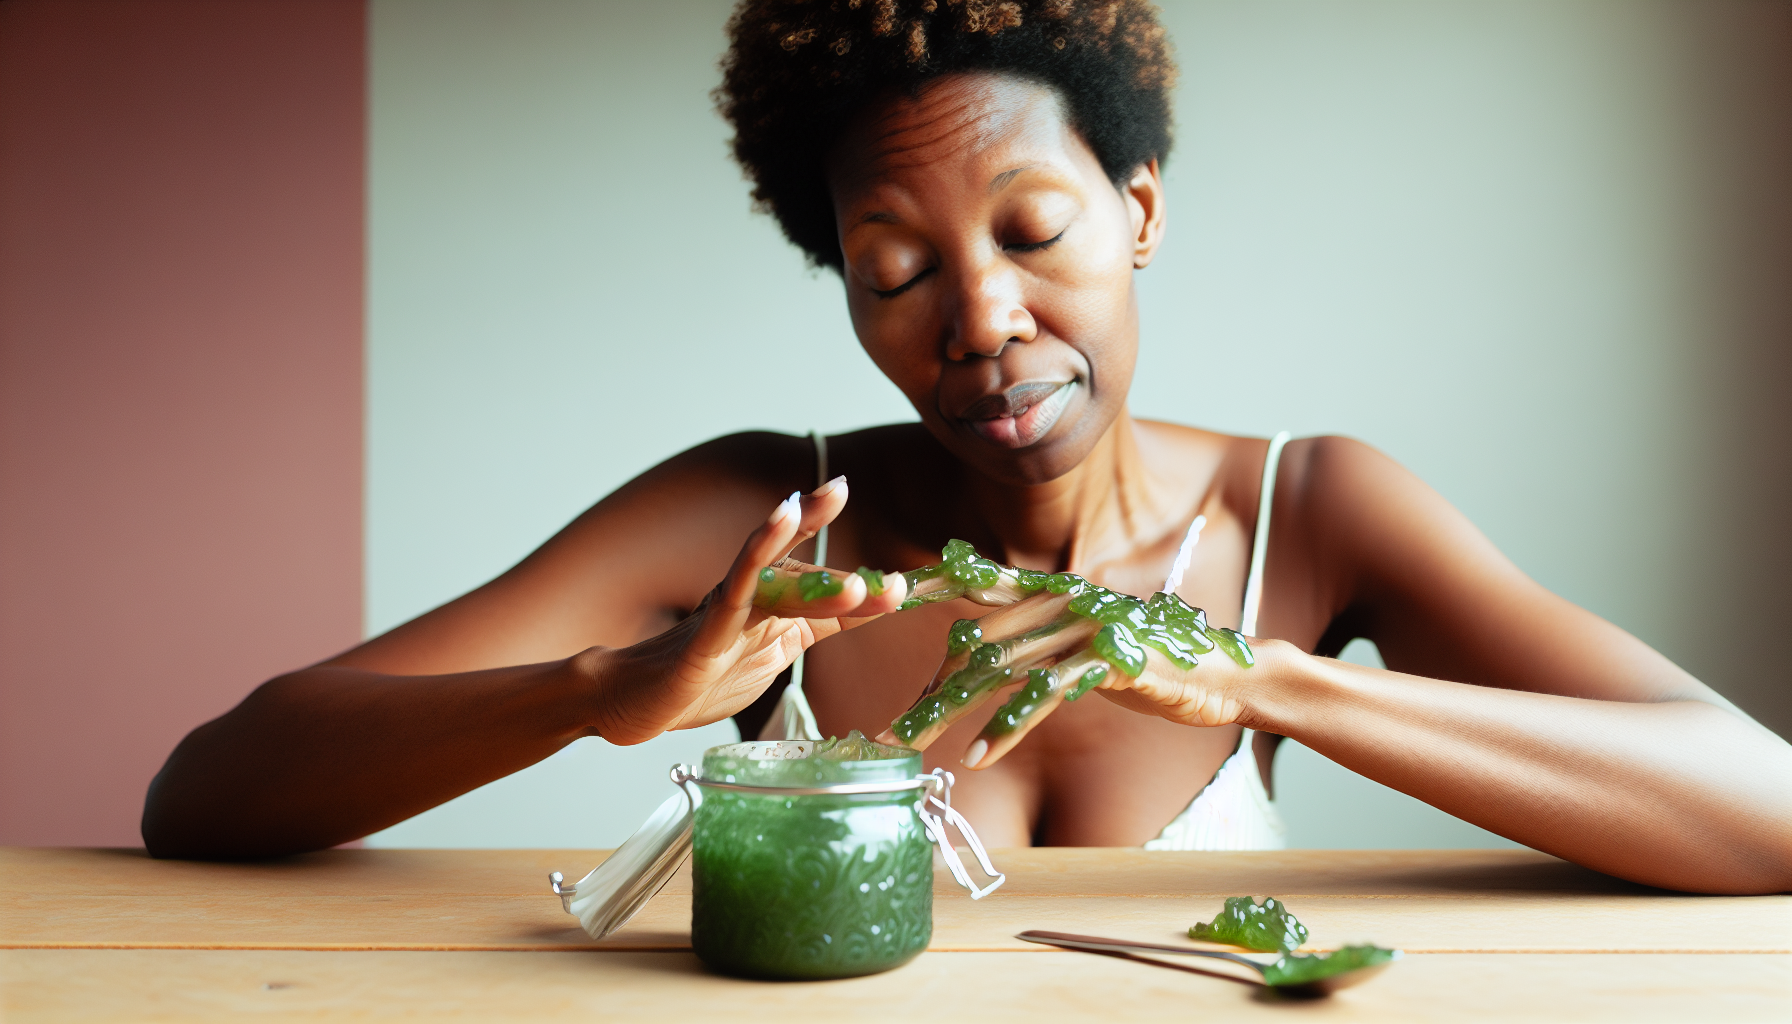
Beyond the kitchen, sea moss gel has a plethora of beauty benefits. When applied to the skin, sea moss gel helps:
- Hydrate
- Reduce inflammation
- Control oil
- Improve complexion
To use, ensure your face is clean, apply a small amount of gel to the target area, and watch it work wonders!
But the beauty benefits of sea moss gel don’t stop there. Adding it to your hair care regime can lead to stronger and healthier hair. Sea moss gel provides a good dose of hydration, reduces shedding, fortifies strands, promotes growth, and overall, contributes to more vibrant hair.
Troubleshooting Common Sea Moss Gel Questions
So, you’ve made your sea moss gel, but it’s not quite right. It’s too runny or too thick, or maybe it doesn’t feel as smooth as you’d hoped. Don’t panic! Troubleshooting these issues is simpler than you might think.
If your sea moss gel is too runny, remember that it will thicken up when refrigerated. If it’s too thick, just add more water and blend it again. For a smoother texture, add more water during the blending process. Bear in mind, the consistency of your gel significantly influences its utility in cooking and skincare uses.
Navigating Health and Safety with Sea Moss Gel
Even though sea moss gel is nutrient-dense, moderate consumption is advised. Overconsumption can lead to stomach discomfort and other issues due to its high iodine content. It’s always crucial to heed your body’s signals and seek medical advice if any health concerns arise.
Sea moss gel is generally safe for everyone, including pregnant or nursing women, and children. However, it’s always a good idea to consult a healthcare professional before introducing any new food into your diet, especially for those with pre-existing health conditions.
Sea Moss Gel Recipe Variations
Eager to experiment with your sea moss gel? There’s plenty of room for experimentation! From adding flavors and sweeteners to including extra nutritional ingredients, there are numerous ways to personalize your sea moss gel.
For instance, you can add bladderwrack to your sea moss gel for an extra nutritional boost. Or sweeten your gel with honey and flavor it with fresh or frozen fruits.
For those with a creative culinary streak, incorporating herbs and spices like ginger, turmeric, or coconut can add an exciting twist to the taste and aroma of your sea moss gel.
Preserving Your Sea Moss Gel for Longevity
Typically, homemade sea moss gel remains fresh for about 3 to 4 weeks in the refrigerator. But with the right storage techniques, you can extend its shelf life. Regardless of whether you choose to refrigerate or freeze your gel, correct storage is vital to preserve its freshness and nutritional quality.
To check if your sea moss gel is still good, look out for changes in smell and color. If it starts to smell different and looks darker, it’s likely spoiled and should be discarded. Remember, it’s always better to be safe than sorry when it comes to consuming food products.
Making Sea Moss Gel in Bulk
Should you intend to include sea moss gel in your daily routine, bulk preparation could be a time-efficient approach. The process remains essentially the same, but with larger quantities. A 1:4 ratio of dry sea moss to water is a good rule of thumb for large batches. To determine how much sea moss you’ll need, simply adjust the ratio according to your desired batch size and prepare sea moss in a large bowl.
When making sea moss gel in bulk, it’s crucial to store it properly to maintain its quality. Storing it in airtight containers or freezing it in portions allows you to always have a fresh supply on hand without compromising its nutritional value or texture.
Summary
Sea moss gel, with its incredible nutritional profile and versatility, is a superfood worth adding to your diet. From its historical roots to its varied uses in food and beauty applications, sea moss gel offers numerous benefits that can contribute to your overall health and wellbeing.
Whether you’re using it in your culinary creations, applying it topically for skin and hair health, or consuming it for its abundant nutrients, remember the key is moderation. With these tips in mind, you’re now ready to embark on your sea moss gel journey. So go on, try making your own sea moss gel and experience the magic of this ocean superfood!
Frequently Asked Questions
How long does homemade sea moss gel last?
Homemade sea moss gel can last up to a month in the refrigerator when stored in a tightly sealed container, and up to three to four months when frozen. So, make sure to keep it sealed and refrigerated for longer shelf life!
How do you start sea moss gel?
To start sea moss gel, boil the sea moss with water and continuously stir over low heat until you achieve the desired consistency. It’s that simple!
What are the 92 minerals in sea moss?
Sea moss contains 92 minerals, including magnesium, potassium, iodine, sulfur, and calcium, which provide energy, aid digestion, and detoxify the body. So, it’s a great natural source of these essential nutrients.
How much sea moss to take daily?
Stick to the recommended amount of 1 to 2 tablespoons or 4 to 8 grams of sea moss daily to maintain proper thyroid function and avoid potential harm from excessive iodine.
Can I use sea moss gel daily?
Yes, you can use sea moss gel daily, but it’s important to consume it in moderation and listen to your body for any potential side effects. If you have health concerns, consult a doctor.